 |
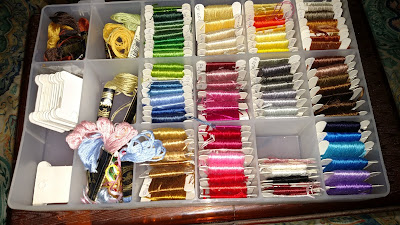
| Embroidery Floss Case |
How to Hand Embroider the Back Stitch
The back stitch is the embroidery stitching shown in green in the video below.
It's an easy stitch to master with just a bit of practice, and you can use it for a lot of different designs in embroidery.
You can also use this stitch any time you need to make a strong seam by hand sewing, so it's useful for mending clothing or making things.
In the video, I'm showing how to combine different embroidery stitches to create an entire design, so be sure to subscribe to the Sewing Lessons From Stitching it Right YouTube channel if you want to see how it turns out.
It's also going to be a handy channel to follow if you want to learn how to sew because there's SO much more planned.
Video Showing the Steps to do the Back Stitch in Hand Embroidery Sewing
To hand embroider the back stitch, prepare your fabric and a threaded needle, then:
- Poke the needle through the fabric and pull the embroidery thread through the fabric at the desired starting point.
- Move the needle's tip 1/8-inch to 1/4-inch forward then poke it back down through the fabric.
- Pull the embroidery thread taut, then poke the needle back up through the fabric about in the center of the stitch.
- Move the needle's tip forward the same distance, again, then poke it down through the fabric and pull the embroidery thread tight.
- Repeat these first steps over and over until you reach the end of the line you are stitching.
- Anchor the thread on the back side of the fabric with two or three tiny stitches that are hidden behind the embroidery floss on the front of the fabric.

No comments:
Post a Comment